Description
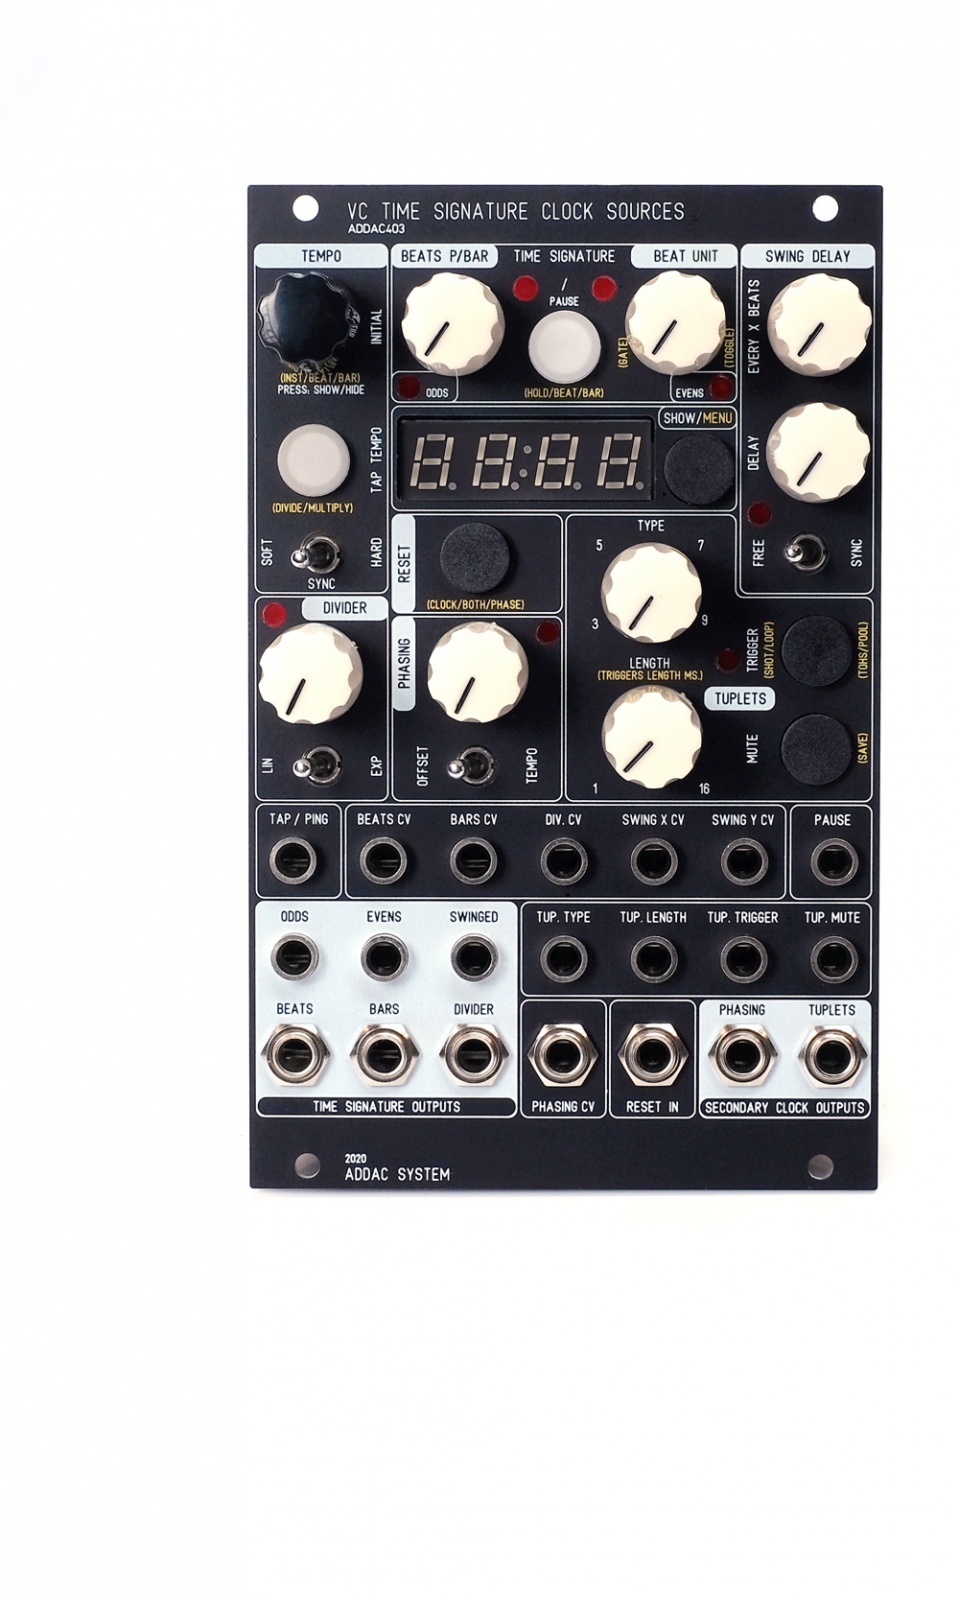
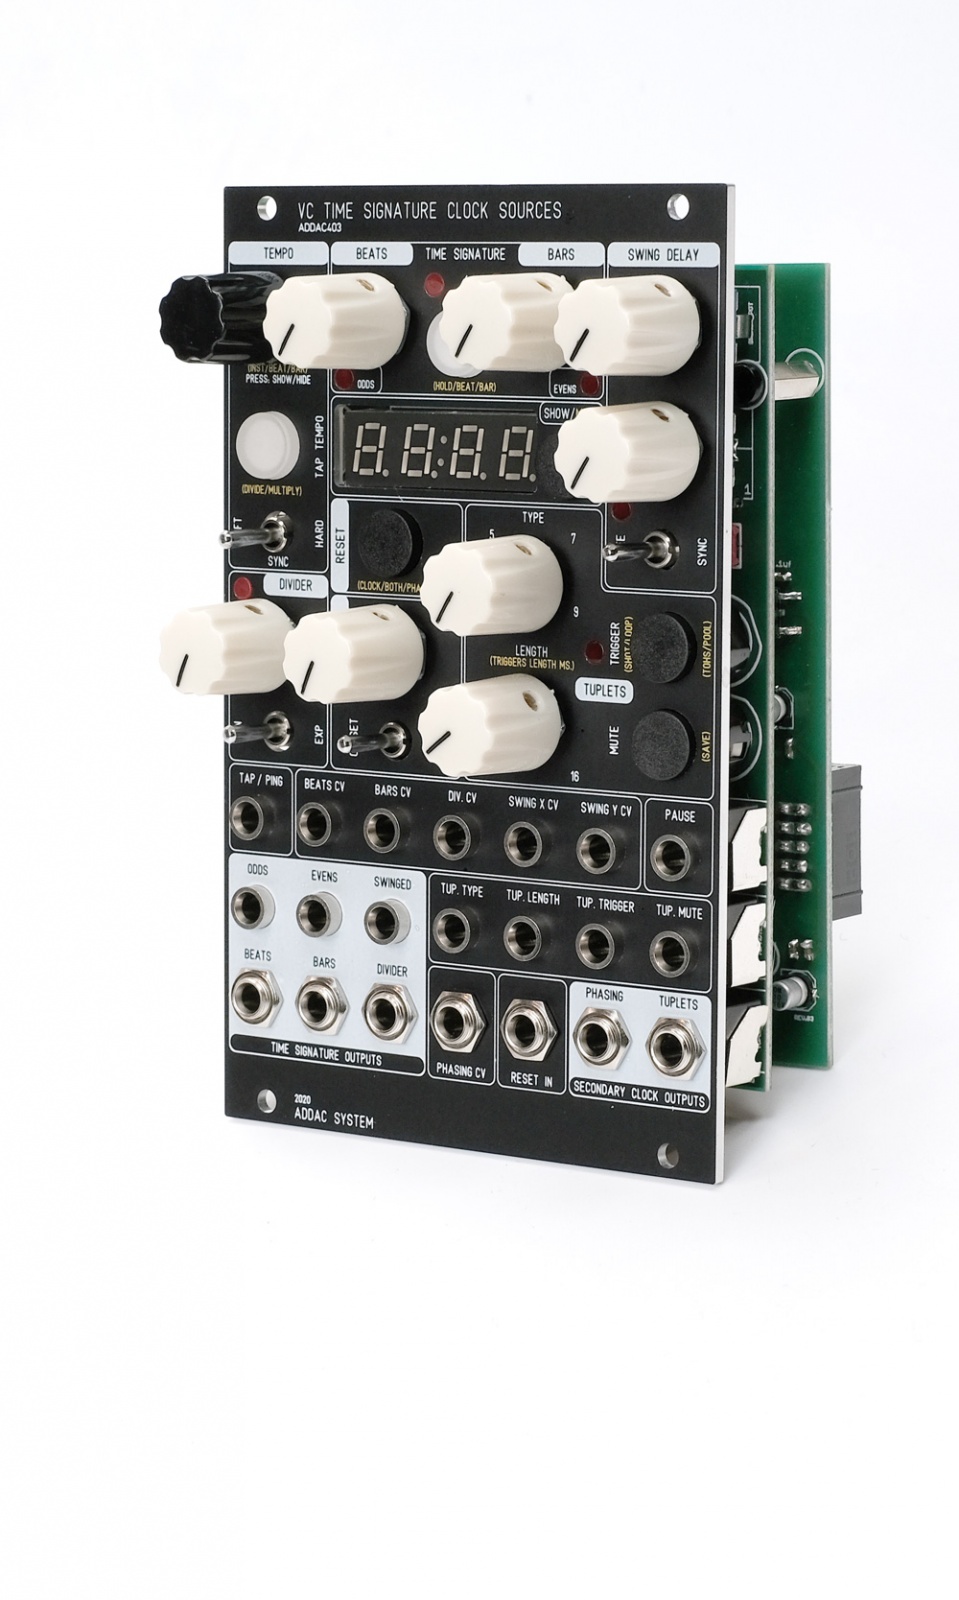
This is our long due Eurorack Clock module, featuring multiple sections for a combined total of 8 independent trigger outputs.
Introducing standard time signature musical notation along with the possibility to generate syncopation, irregular tempo ratios and phasing all at once in a single straight forward unit.
We started by programming an extremely stable digital clock with over time drift compensation and adjustable to any Beat per Minute [BPM] up to 1 decimal case (from 0.1 to 250.0 BPM). Also implemented a Tap Tempo button and Pingable input for syncing to external clocks using either Soft or Hard [SYNC] modes.
The Time Signature X/Y section defined as [Beats Per Bar] / [Beat Unit] and generating 4 outputs triggering at every: Beat, Bar, Odd Beat (1,3,5...) and Even Beat (2,4,6...).
A [PAUSE] button sets the Pause/Resume state of the clock also allowing different sync methods on Resume.
A [RESET] button resets either each or both the Main and Phasing Clocks
A Divider section can be set to any beat division in Linear (3,4,5,6,7,8,9,10) or Exponential mode (1,2,4,8,16,32,64,128)
The Phasing section features a totally independent clock that can run in two modes:
[TEMPO] running at a slower/faster bpm phasing in and out of tempo against the main clock.
[OFFSET] running at the same bpm but offsetted/delayed against the main clock generating a steady syncopated beat.
A Tuplet section allows the generation of Triplets, Quintuplets, Septuplets and Ninelets with adjustable [LENGTH] or Span of the tuplet to any number of Beats from 1 to 16.
4 Modes allow different [TRIGGER] and [MUTE] functionalities: they can run in a loop or one shot mode, [TRIGGER] always triggers/resets the Tuplet and [MUTE] can be set to Gate On or Gate Off. Tuplets always output irregular divisions of the Beat and allow Polybeat generation.
A Swing Delay section allow to delay 1 Beat at [Every X Beats]. The [Delay] knob sets the delay in a fraction of 1 Beat, this section also allows the generation of syncopated beats.
More specific settings can be changed in the [SHOW/MENU], menu functions are labeled in gold.
All sections feature they’re own monitor LEDs.
By default Display shows the current Time Signature status.
Pressing the [SHOW/MENU] button sequentially will display each sections settings.
After 3 seconds it automatically returns to default Time Signature status.
All settings can be saved to a single memory slot, upon startup the memory state will be automatically loaded.
All Knobs and Push-Buttons have their own CV/Trigger inputs except the [BPM] encoder and [SHOW/MENU] button.
Make sure to read the ADDAC403 User's Guide for further in-depth descriptions.
Tech Specs:
16HP
4cm deep
140mA +12V
40mA -12V
Note: All specifications and features are subject to change without previous notice.
Custom Panel
In case you're wondering: Sure! We can get you a custom coloured front panel for the ADDAC403.
It has an additional cost and takes 4 to 6 weeks to be ready.
At the moment the ADDAC403 standard panel colour is Black.
A custom colour panel can be done in either Red, Green, Blue, White, Silver Gray, Yellowed Silver, and Dark or Light Bronze.
Print colour varies between Black, White, or Red, Blue and Green. We recommend lighter-tone print for darker panels, and vice-versa.
Please note: we don’t stock custom coloured panels. For every custom order we need to make a single panel order from our panel provider. This explains the panel price and lead time.
Media
Here's an in depth introductory video from Daniele:
Order
Thanks for your interest in the ADDAC403!
To proceed with a direct purchase, you may fill out the form on our Orders Page.
If you want to obtain it through a shop closer to you, this is our Distributors Page.
Firmware Update
Here's the procedure for updating your ADDAC403 Firmware
(It can also be found at the page 11 of the User's Guide)
1. First you need to download this App:
https://www.pjrc.com/teensy/loader.html
2. Next download and unpack the Firmware file:
http://media.addacsystem.com/firmwares/ADDAC403_Firmware.zip
3. Open the App, go to: File>Open HEX File and choose the .hex file downloaded.
4. Remove your module from the frame but keep it connected to your busboard and keep power ON.
5. Find the micro usb connector located at the bottom of the module and plug a usb cable to your computer.
6. Look for a small white push button on the small board where the USB is connected to, use some plastic tool (metal may short some pins when reaching in) to reach in and press the button once.
7. On your computer hit upload on the teensy loader app, wait for it to complete and you're all done.
----------------------------------------------------------------------------------------------
Last update version: E_0, May, 27th, 2021
E_0 Changes Log:
* IMPROVED: Ping detection
* FIXED: Tap tempo startup initialization bug
C_9 Changes Log:
* IMPROVED: Ping detection
* IMPROVED: Pot reaction display now showing correct values
* ADDED: Now showing firmware revision at startup